
Whether you are a novice or an amateur, these six easy-to-follow steps for designing wireframes will come in handy!

If you’ve been in the user experience (UX) design profession for even a little while, you’ve probably heard of wireframing at some point. In an ideal web designing scenario, wireframing would be the first step you take to visually depict what a webpage may eventually look like.
However, if you’re not well versed in designing wireframes or if this is your first time designing one, you may struggle with a few things. You may wonder how wireframing fits into the larger design process, what are the steps involved in creating a wireframe, and whether you should create a wireframe using pen or paper or would you need a specialized tool for it.
While you can create a wireframe with pen and paper as well as a wireframe tool (as per your needs and convenience), answers to the other questions are a bit more tricky. The good news is that we will answer these, and other questions you may have, in this article as we talk about how to create wireframes.
But before we dive in, what exactly is a wireframe?
What is a wireframe?
A wireframe is a mockup or a representation of the broad structure or layout of a web or app page. It shows how various components, such as sections, tabs, products, information, and call-to-actions, will be positioned and how the space will be utilized. Since the wireframe represents the initial layout of a webpage, colors, multimedia content, fonts, and other stylistic elements are typically kept minimal.
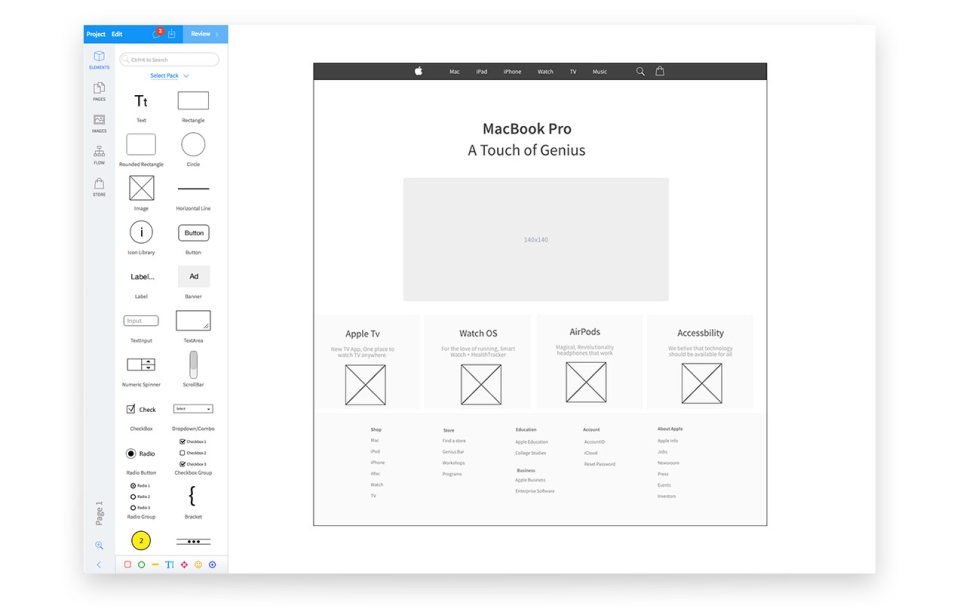
Sample wireframe being designed in MockFlow WireframePro (Source)
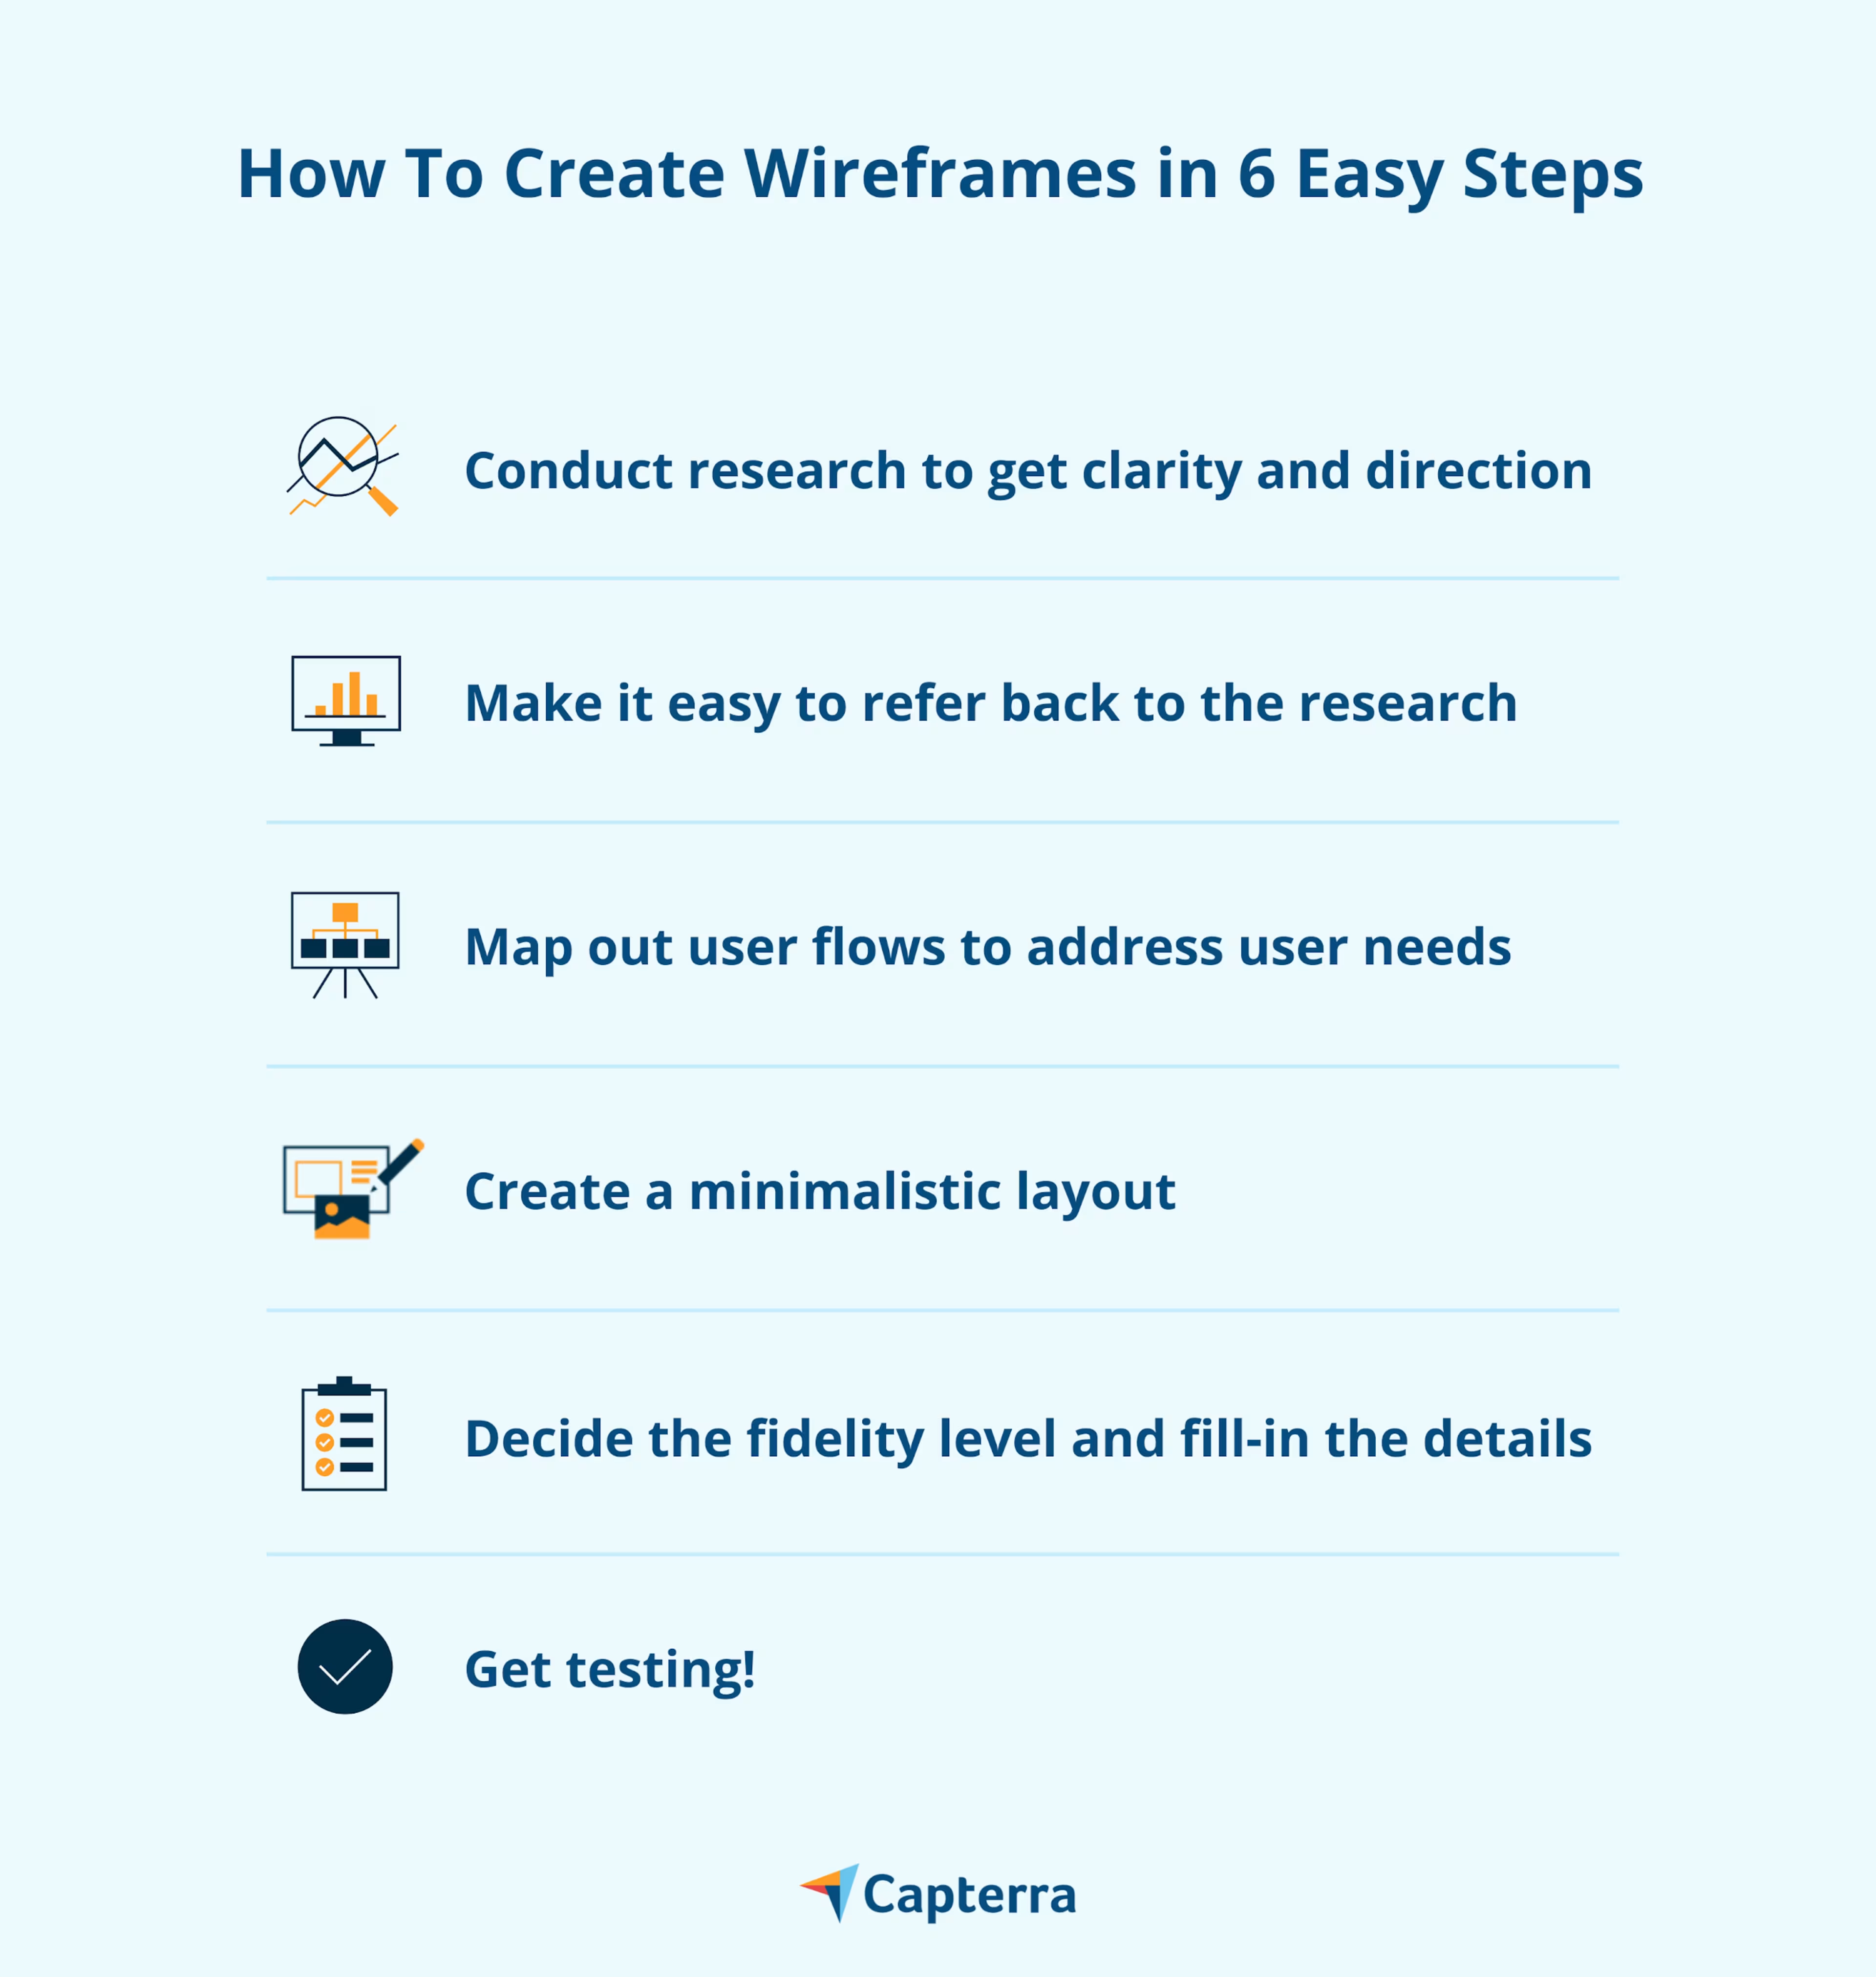
With that covered, let’s look at the steps involved in creating a wireframe.
Conduct research to get clarity and direction
It may be tempting to start pouring out your wireframe ideas immediately, but before you do that, think of the larger goal: designing a compelling user interface (UI). And to do that, you will need to gauge the requirements of your design project and the expectations of your stakeholders and end users.
Your design should not only help the business deliver its message or products to customers but more importantly make it easy for customers to navigate the page and find what they need without much hard work.
Here is how you can ace this step:
Check in with stakeholders to understand key project needs. Getting this clarity is foundational to the wireframe design.
Research about the end users, their preferences, and buying behaviors so that you can address their needs with the wireframe.
Based on your end user research, define common use cases to better understand the scenarios you are designing for.
Conduct market research and competitor analysis to identify design trends and best practices.
Make it easy to refer back to the research data
You are going to collect a lot of data, including use cases, buyer profiles, market research data, and project requirements, during your research. At various points in your wireframing process, you will need to keep coming back to this research.
Therefore, before you dive in, make sure to document and organize all your research information in a way that you don’t waste too much time and effort accessing them. This will ensure the hard work you put into your research reflects in your wireframe and doesn’t go to waste.
Here are some quick ways to do this:
Be sure to document all the key pieces of information you come across.
Arrange the research based on macro and micro categories, using folders and subfolders.
Create cheat sheets to capture key concepts such as buyer use cases, buying behaviors, or any intriguing user feedback you may have come across in your research.
Map user flows to address user needs
User flow refers to the path or journey of a user during a website or app session. This journey includes the point where they entered your website/app, all the points where they interacted with the website/app (like the pages they visited and the buttons they clicked on till their final transaction), and where they exited the website/app.
One simple example of a user flow could be: a user enters your eCommerce website after clicking on an ad about, say, grey derby shoes. After landing on your website, the person may want to filter the shoes by price, size, brand, etc; he/she may want to zoom in on one or more of the shoes, check their specifications, add one of the items to the cart, and eventually, make the payment and complete the transaction.
These are the sorts of interactions within your website/app that put together make up the user flow.
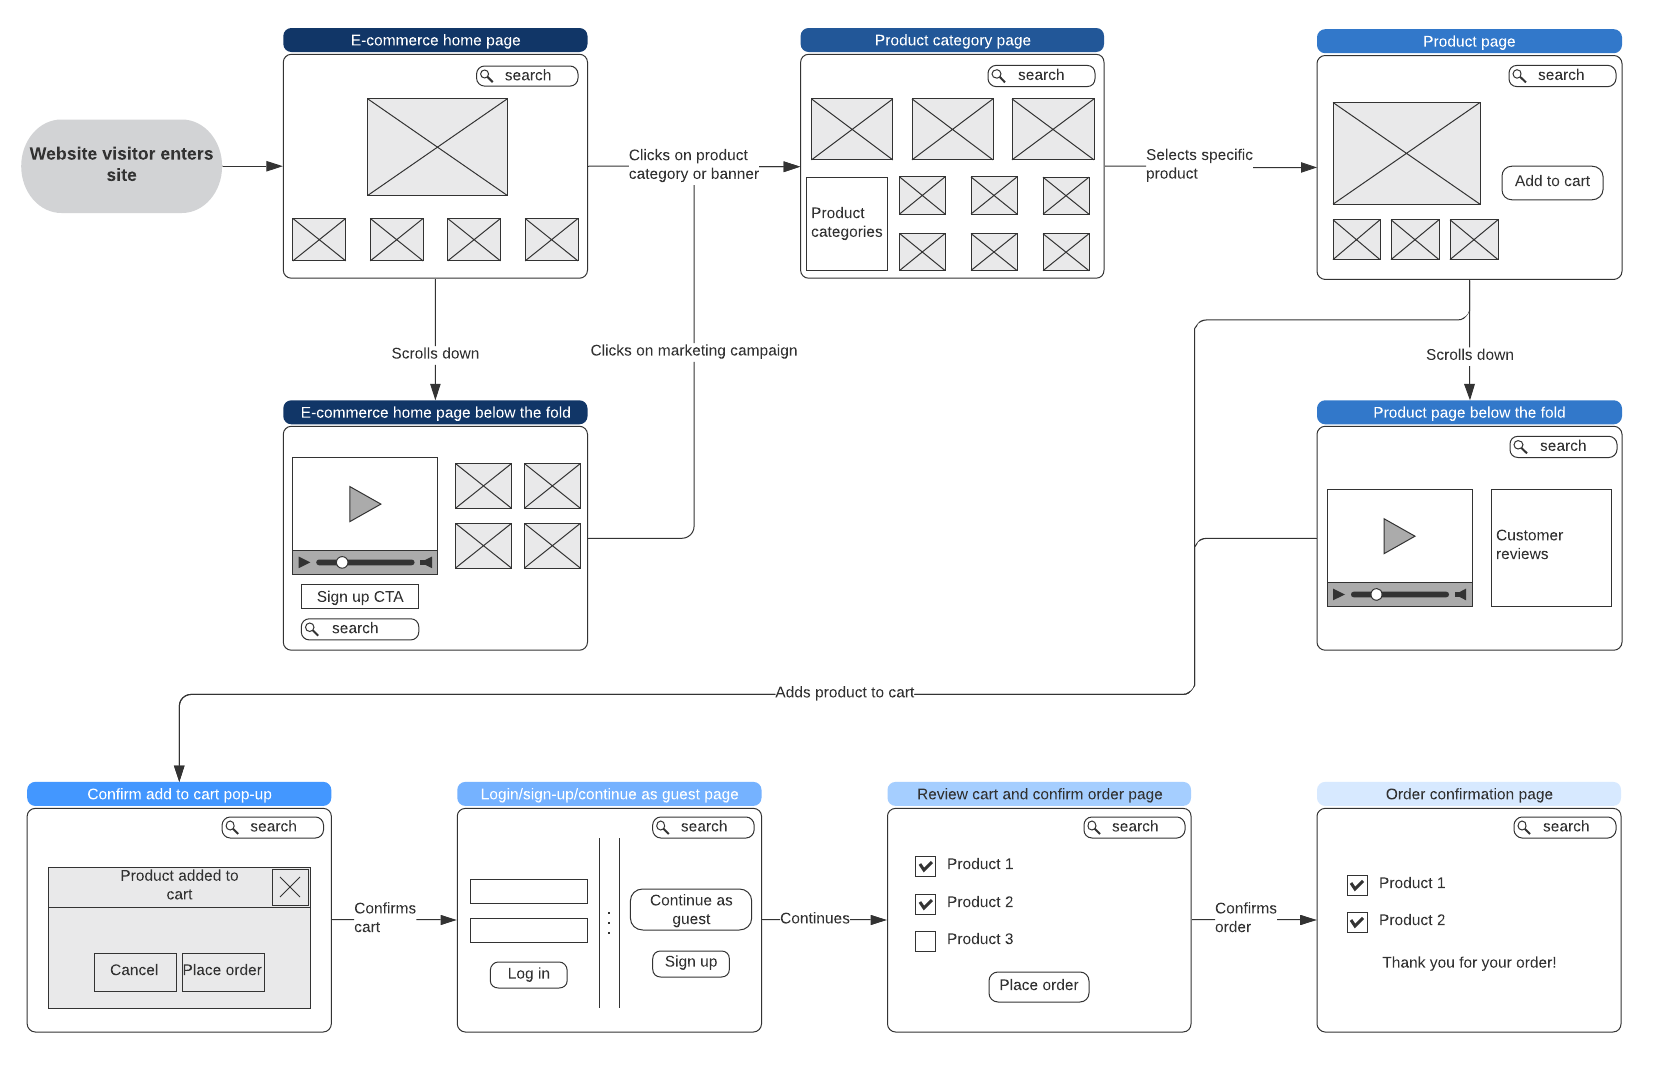
Sample user flow for an eCommerce website visitor (Source)
This journey needs to be mapped in a user flow so that you don’t miss out on crucial design elements such as the shopping cart, price filter, or specifications checklist. Lacking such elements could confuse website/app visitors, requiring them to contact customer support to seek help with even the basic navigation.
The immediate impact in such a case would be dissatisfied or frustrated customers, which would also mean reduced conversions and increased abandonments.
User flows are the foundation of your wireframe, so be sure to cut out some time for this. Here is how you can do this right:
Map user needs by asking yourself: What goal are the website/app visitors trying to achieve? What features are they looking for? What initial questions could they have? What information might they need to navigate smoothly?
Create a flow outline that includes a user’s entry point into the website/app and all the steps they may take until the final transaction.
Make sure to keep the user flow logical and to include all possible needs of a user while navigating.
Create a minimalistic layout for the wireframe
It is now that you need to put pen to paper and start pouring your layout ideas. At this stage, you will need to create a basic structure that highlights what elements will be on the page, which UI element will go where, what tabs will be included, where the text boxes will go, and where the multimedia elements will be placed.
The idea is to create a basic skeletal structure of the webpage in a way that addresses all the user and business needs.
Also, as you design the structure, resist the temptation to add too many details—less is more at this stage. Forget the fonts and the colors, just focus on creating an indicative design, not the final thing.
Here are some questions you can answer to get this step right:
How can I best organize the UI components to support a visitor’s end goal?
What should the user see as soon as he/she arrives on the page?
Where should I place the main message of the page?
Which information should be most prominently displayed?
Which buttons will the user need to navigate through the website or app design?
Once the basic structure is ready, show it to your colleagues or your manager and get some initial feedback on it. Tweak the layout accordingly, if required, to increase usability.
Decide the fidelity level and fill in the details
Now that you have sufficient clarity on the direction of the project, the user flow, the basic wireframe layout (also called mockup), and any required improvements, you can go ahead and start filling in some details.
At this point, you will need to decide the fidelity level of your wireframe, in other words, the amount of detail present in your wireframe. Here is a quick snapshot of the key differences between the three commonly used levels.
Fidelity | Characteristics | To be used |
|---|---|---|
Low | Rough layouts, mainly boxes and lines Little to no specific details No sense of scale, pixels, or grid | While representing multiple concepts or variations During the initial design phase when details are not needed |
Medium | More accurate depiction of the layout Few details, with key elements highlighted separately No images or fonts | When a low fidelity wireframe needs to be fleshed out When the wireframe needs to be presented to others in an easily understandable form |
High | Pixel-specific layout Colors, images, and stylistic elements as needed Little to no text | When an approved wireframe concept needs further refining When complex UI elements need to be judged accurately |
Once you have decided on the fidelity level, here is how you can fill in the details in the wireframe:
Add details progressively from top to bottom and left to right.
Add the basic usability details such as the navigation bar and the search bar on the top right or left.
Throw in elements that you think will make it convenient for customers to use the page, and see where you can best place them.
Get testing!
With the details filled in, your wireframe is ready to prove its mettle. You will need to test the wireframe to see how usable it is, that is, if all the design elements a user might need are present.
Testing will also help identify any essential elements that may be missing or any additional requirements that need to be addressed. For example, instead of two fields on the Login page (one for username and the other for password), your wireframe has only one. Or maybe there is no navigation bar on the home page when logically, there should be one. Such misses need to be fixed before the wireframe goes further into the design process.
You can take the help of your colleagues in this or get actual users to test the final product. If you need a more in-depth analysis of the wireframe, you can also consider involving subject matter experts.
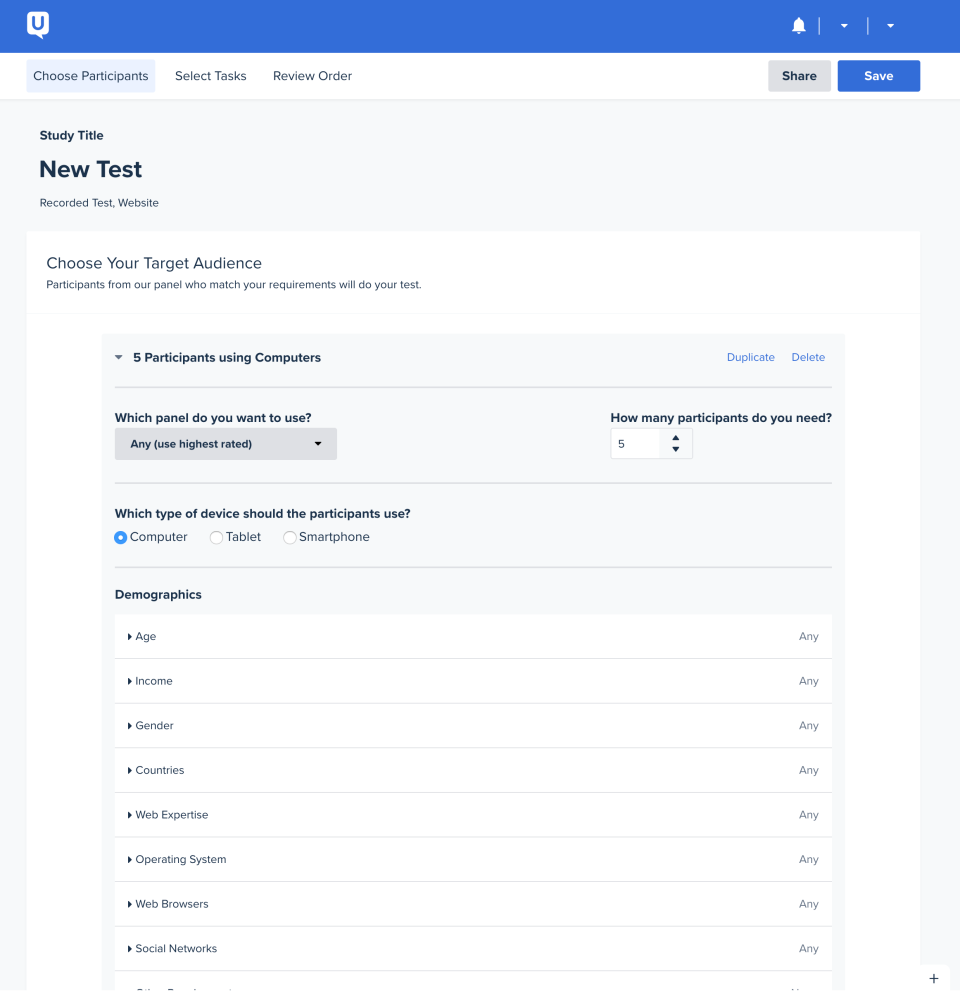
Defining the criteria for a new test in UserTesting (Source)
Here is how you can test your wireframe:
Print your wireframes on paper or create digital wireframes and present them to reviewers.
Ask reviewers a series of questions to gauge their experience and record feedback. Some wireframe testing tools may allow for more interactive wireframe testing and capture feedback automatically.
Try user testing—a service that allows you to post a link of the wireframe that users can test. Once tested, they may share a video of their screen while testing and audio or written feedback.
Once you are done with the testing and have collected the feedback, make improvements as you deem necessary.
Ready for a wireframing blitzkrieg? Not so soon!
Before you launch into action, there is something you need to consider. Wireframing with pen and paper is great since you don’t need to make any software installations, pay for any tool, power up a computer, or it doesn’t matter if you are connected to the internet. But using a wireframing tool has some undeniable perks over sketching.
A wireframing tool can help you drastically reduce the time it takes to design a wireframe. You can simply use drag-and-drop placeholder elements and ready-to-use wireframe templates. A tool also makes it easy to collaborate with team members or clients and receive feedback in real time. Moreover, you can integrate with apps such as Adobe Creative Cloud or Jira to create high-quality wireframes.
If you are wireframing on a budget, you can check out this list of free and open source wireframing tools.
Depending on your needs, you can hire a web designer for help with creating wireframes. Check out our hiring guides for web design companies and web development companies to determine the best fit for you.