

Imagine a virtual space that allows your business to share content, promote events, collaborate with fellow brands, connect with your target customer base, and more!
With a Facebook business page, users gain access to page analytics, paid promotional opportunities, and a wide variety of content creation tools—perfect for business owners seeking to turn connections into long lasting customers.
Sign up for a Facebook account
Before you can create a Facebook page for your business, you must sign up for a Facebook account. (If you already have a Facebook account you wish to use, skip to the section on how to create a Facebook business page.)
1. Type www.facebook.com in the address bar on your desktop or mobile browser.
2. Click or tap the green “Create New Account” button to create a new Facebook account.
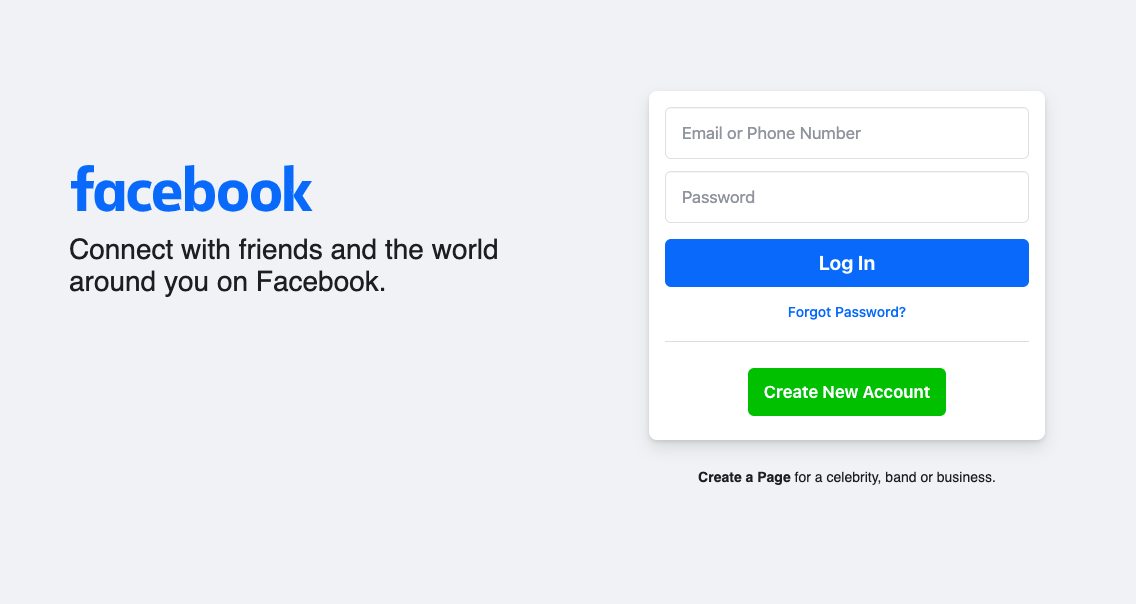
Creating a new account on Facebook (Source)
3. In the form, enter the information of a designated company administrator to sign up for your Facebook account. Then, click or tap the green “Sign Up” button to continue.
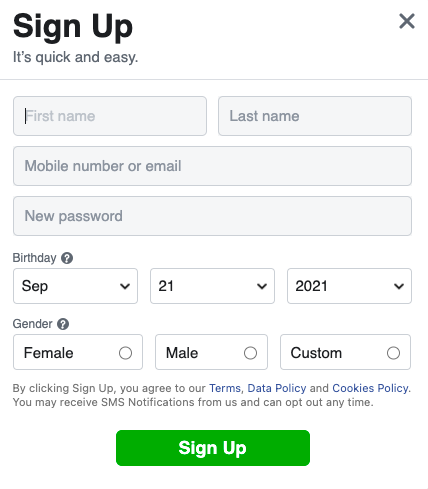
Click or tap the green "Sign Up" button to sign up for a new Facebook account (Source)
4. Facebook will send a verification code to the email account you provided. Navigate to the inbox, retrieve the code, and type it into the text field. Then, click or tap “Continue.”
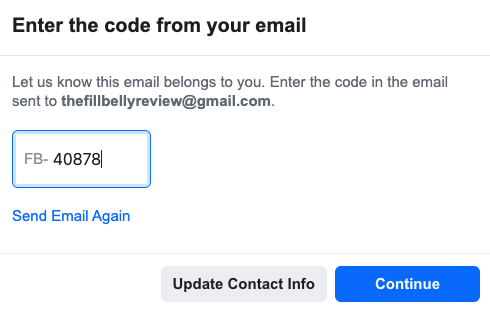
Type your verification code in the text field shown (Source)
5. Click or tap the “Okay” button to confirm your account and begin setting up your Facebook business page.
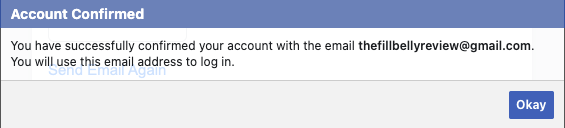
Click or tap the "Okay" button to confirm your account (Source)
Create a Facebook business page
Once you have created and logged into your personal account, follow these easy steps to create a Facebook business page.
1. Click or tap the “Pages” tab on the Facebook homepage.
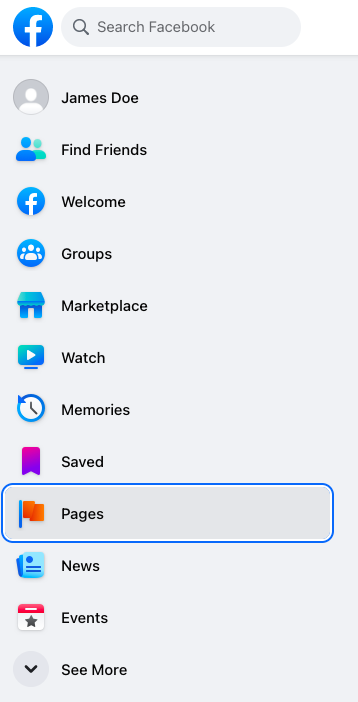
Click or tap the "Pages" tab on the Facebook homepage (Source)
2. Click or tap the “+ Create New Page” button located underneath the search bar.
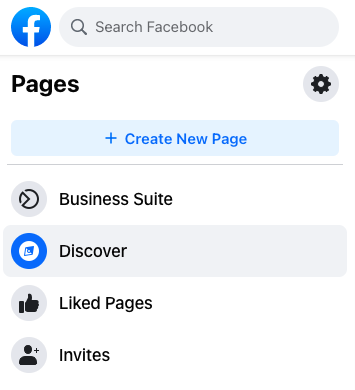
Click or tap the " + Create New Page" button (Source)
3. Fill out the text field labelled “Page Name.” Your page name should match the name of your business.
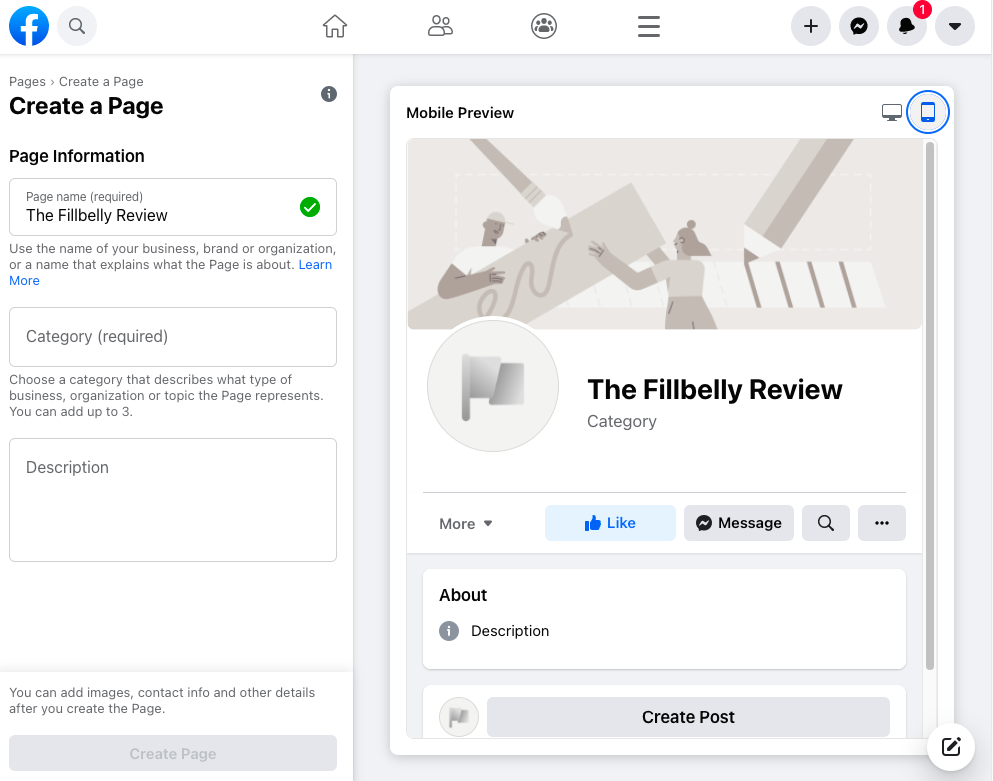
Fill out the text field labelled "Page Name" with the name of your business (Source)
4. Next, click or tap on the text field labelled “Category.” Enter a word that accurately describes your business to reveal a dropdown menu of available category options. Choose up to three categories to assign to your Facebook business page.
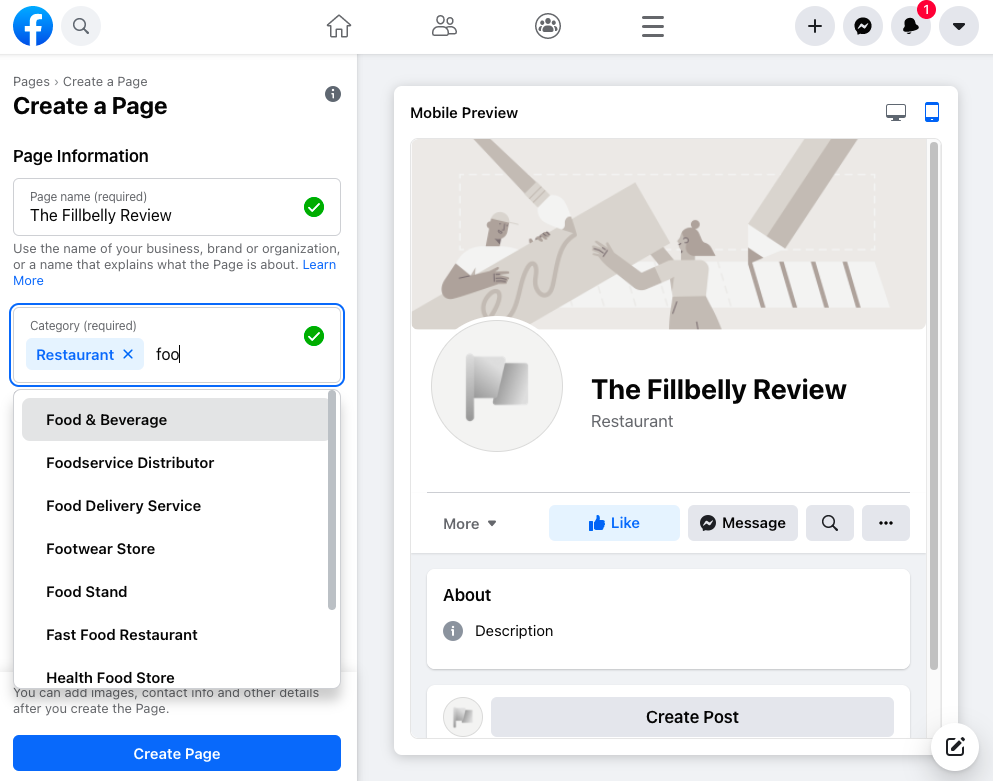
Type a category name to open the dropdown menu and select a category for your business (Source)
5. Next, click or tap on the text field labelled “Description.” Type a description of your business, as well as the services or products you provide. Then, click or tap the “Create Page” button.
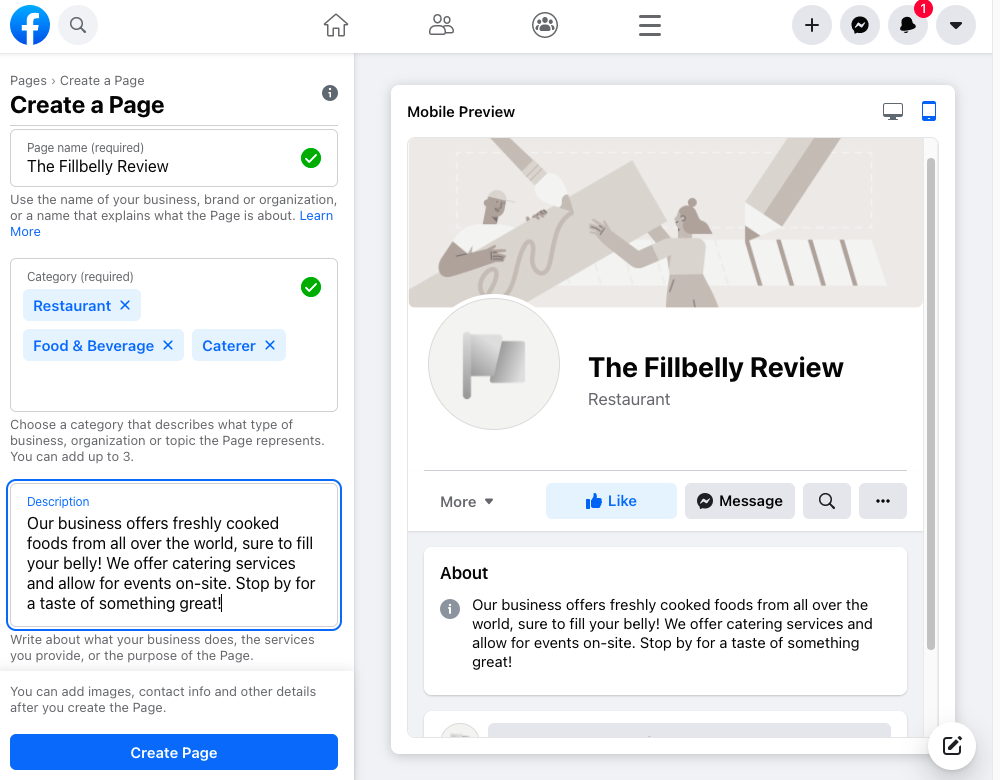
Fill out the page description then click the "Create Page" button (Source)
6. You can now add a profile and cover photo to your Facebook business page by dragging and dropping or uploading images into the “Add Profile Picture” and “Add Cover Photo” boxes. Once you upload your profile picture and cover photo, click or tap the “Save” button.
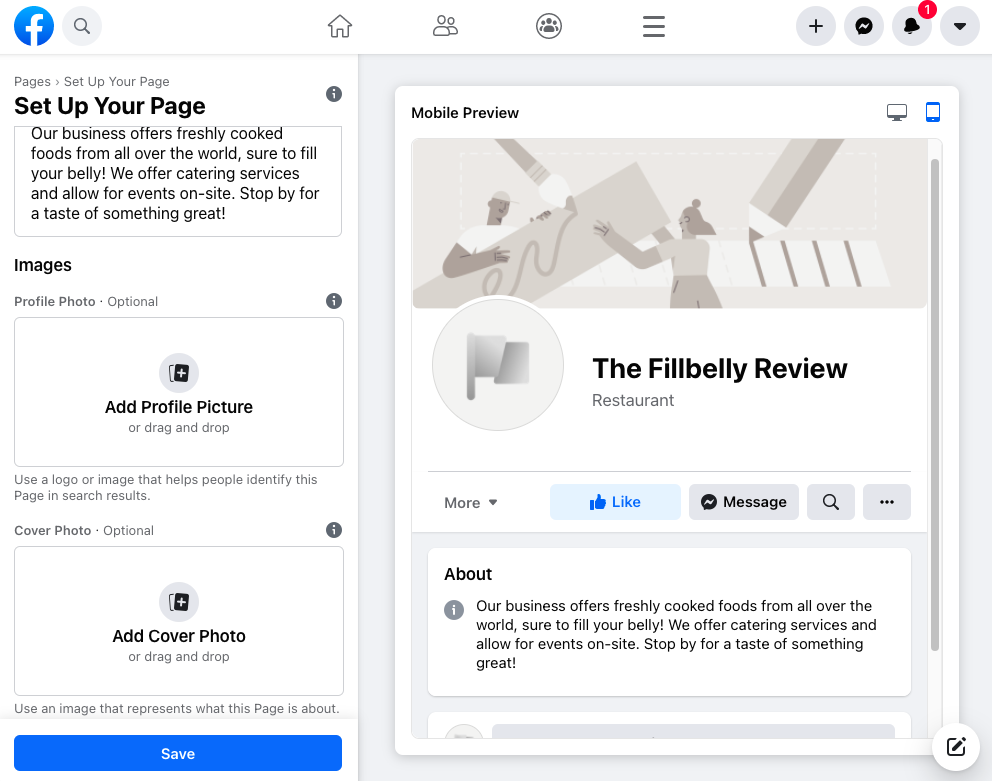
Add a profile picture and cover photo then click the "Save" button (Source)
Personalize your Facebook business page
Follow these easy steps to strategically personalize your Facebook business page to attract customers and collaborators.
1. Go to your Facebook business page and click or tap the tab labelled “Provide Info and Preferences.”
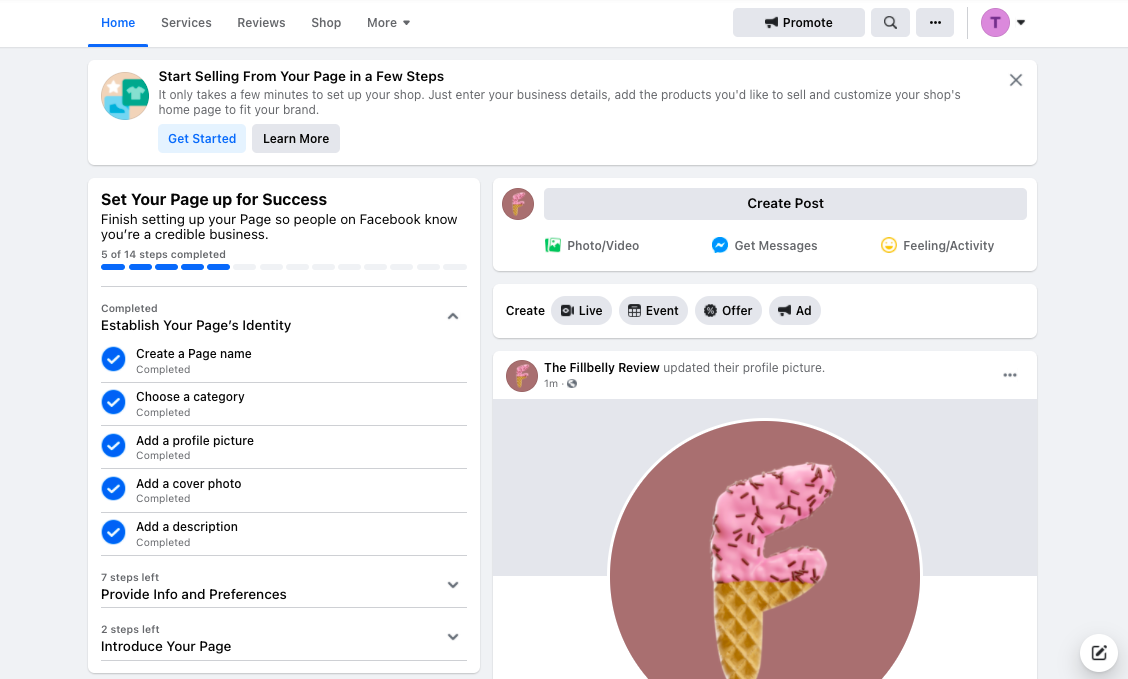
Click or tap the tab labelled "Provide Info and Preferences" (Source)
2. Add your business’s website information by clicking “Add Website.” Type the web address for your business into the text field. Click the “X” button to save.
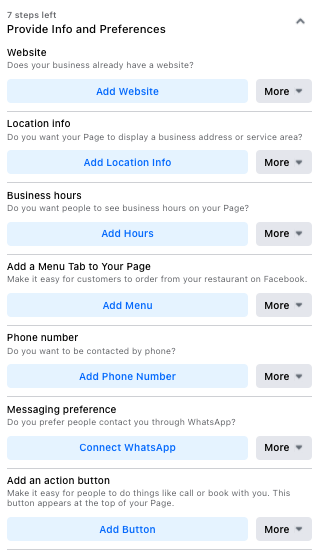
Click or tap the "Add Website" button shown (Source)
3. Then, add your business’s location information by clicking “Add Location Info.” Type the address, city, and zip code of your business into the appropriate text fields and click the “X” button to save.
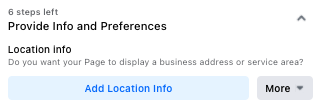
Click or tap the "Add Location" button shown (Source)
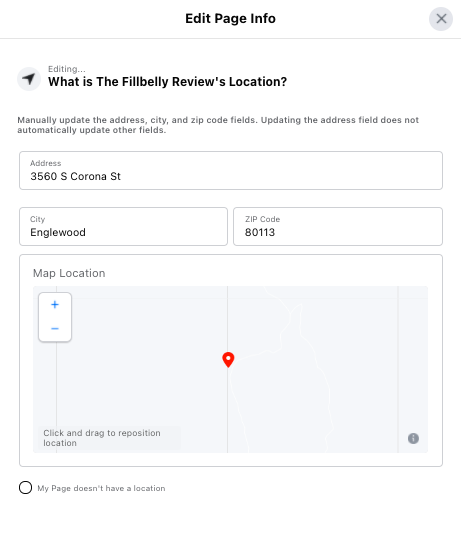
Add location information and then click or tap the "X" button to save (Source)
4. Add your business hours to your Facebook business page by clicking “Add Hours.”

Click or tap the "Add Hours" button shown (Source)
Choose your preferences for displaying business hours on your page. Designate specific business hours by selecting “Open on Selected Hours.” Enter your business hours and click the “+” button to save.
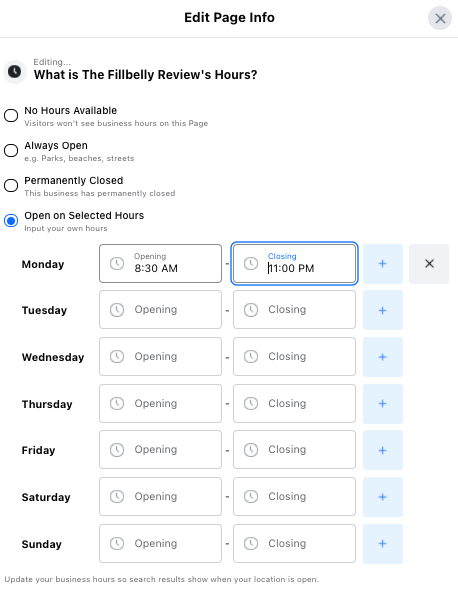
Click or tap the "+" button to add specific business hours to your page (Source)
5. Add a phone number to your Facebook business page by clicking “Add Phone Number.” Type your business’s phone number into the text field. Click the “X” button to save.
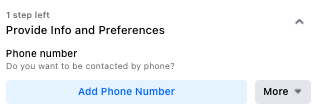
Click or tap the "Add Phone Number" button shown (Source)
How to add a service or menu to your Facebook business page
Adding a service to your Facebook business page allows customers to book appointments without having to call or book in person.
Here’s how to add a service to your Facebook business page.
1. Click or tap the “Services” tab on your page, then click or tap the “Add a Service” button.
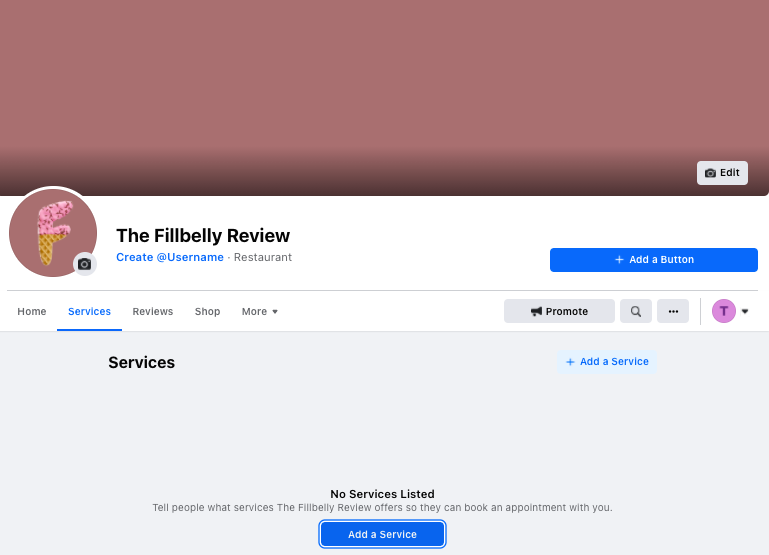
Click or tap the "Services" button, then the "Add a Service" button shown (Source)
2. Enter the name of the service, price of service, service description, appointment duration, and an image of the service to be provided. Click the “Save” button to add this service to your page.
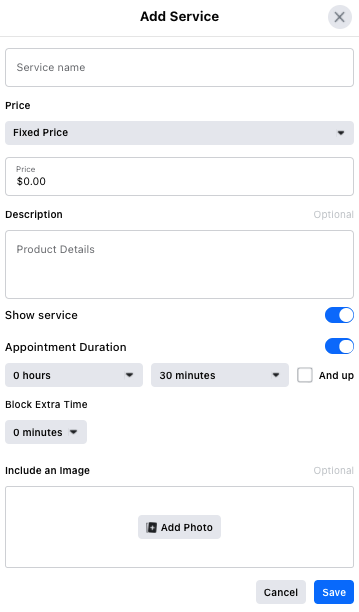
Enter service information then, click or tap the "Save" button shown (Source)
How to easily add a menu to your Facebook business page
Adding a menu to your business page allows customers to easily order pick-up and delivery, without having to order by phone or in person.
Here’s how to add a menu to your Facebook business page.
1. Scroll down your business page to the “About” section. Click or tap the “Add Menu button.”

Click or tap the "Add Menu" button, located at the bottom of the "About" section (Source)
2. Fill out the form by adding a photo of your business’s menu, dining options, delivery details, and acceptable forms of payment. Click the “Save” button to save your menu preferences. Use the phone and desktop icons located on the preview screen to toggle between the mobile and desktop page preview.

Use the phone and desktop icons located on the preview screen to toggle between the mobile and desktop page previews (Source)
Engage with your audience
When you make a Facebook business page, be sure to complete the “Add an action button” section. This makes it easy for users to find what they’re looking for and connect with your business in real time.
1. Go to your page and click “+ Add a Button” below the cover photo2. Choose the action you want from the dropdown menu.
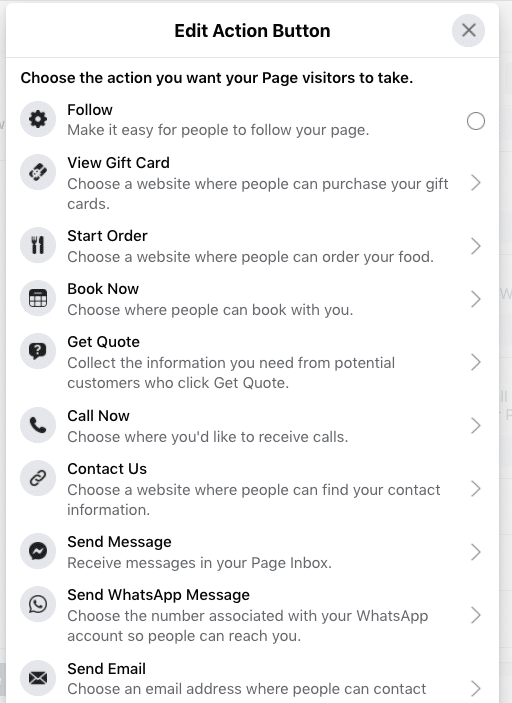
Select a button from the dropdown menu and follow the on-screen instructions (Source)
3. Click “Save” to create your button. Then, click your button and select “Test Button” to confirm it was successful.
Creating a Facebook business page is not only an innovative way to market the products/services your business has to offer, but to also connect with existing and future customers. With a Facebook business page, users have access to content creation tools, promotion opportunities, and page analytics that drive strategic customer marketing practices.
Check out this article on Facebook for Business to learn more about the marketing capabilities of Facebook for small businesses.