
There are so many events I’ve wanted to attend but couldn’t due to time and distance constraints.
If only there were some way I could learn and benefit from these events without actually having to travel all the way to the location and find reasonably priced lodging.
Of course, there are ways to simply broadcast your event through a traditional camera, which gives your viewers a static, uninteresting view of your event.
But why not immerse your viewers into your event through 360° video? This newly developed technology allows your viewers to control their viewing experience and take in every aspect of your event.
[caption width="600" caption="Use your WASD keys to move the view around"]
Using your arrow keys/mouse on your computer or by using the motion sensors in your smartphone, your viewers can have an experience at your event that is completely within their control, which is the next best thing to actually attending.
Here is the Capterra guide to bringing your event to your attendees with 360° video.
1. Acquire a 360° video camera/cameras
Yes, offering this kind of viewing experience is gonna cost you some money, but what advance in technology won’t? Luckily these cameras come in different prices to accommodate different budgets Tech review website Slant details several options in their list of best 360 degree cameras.
Three good examples are:
Kodak SP360
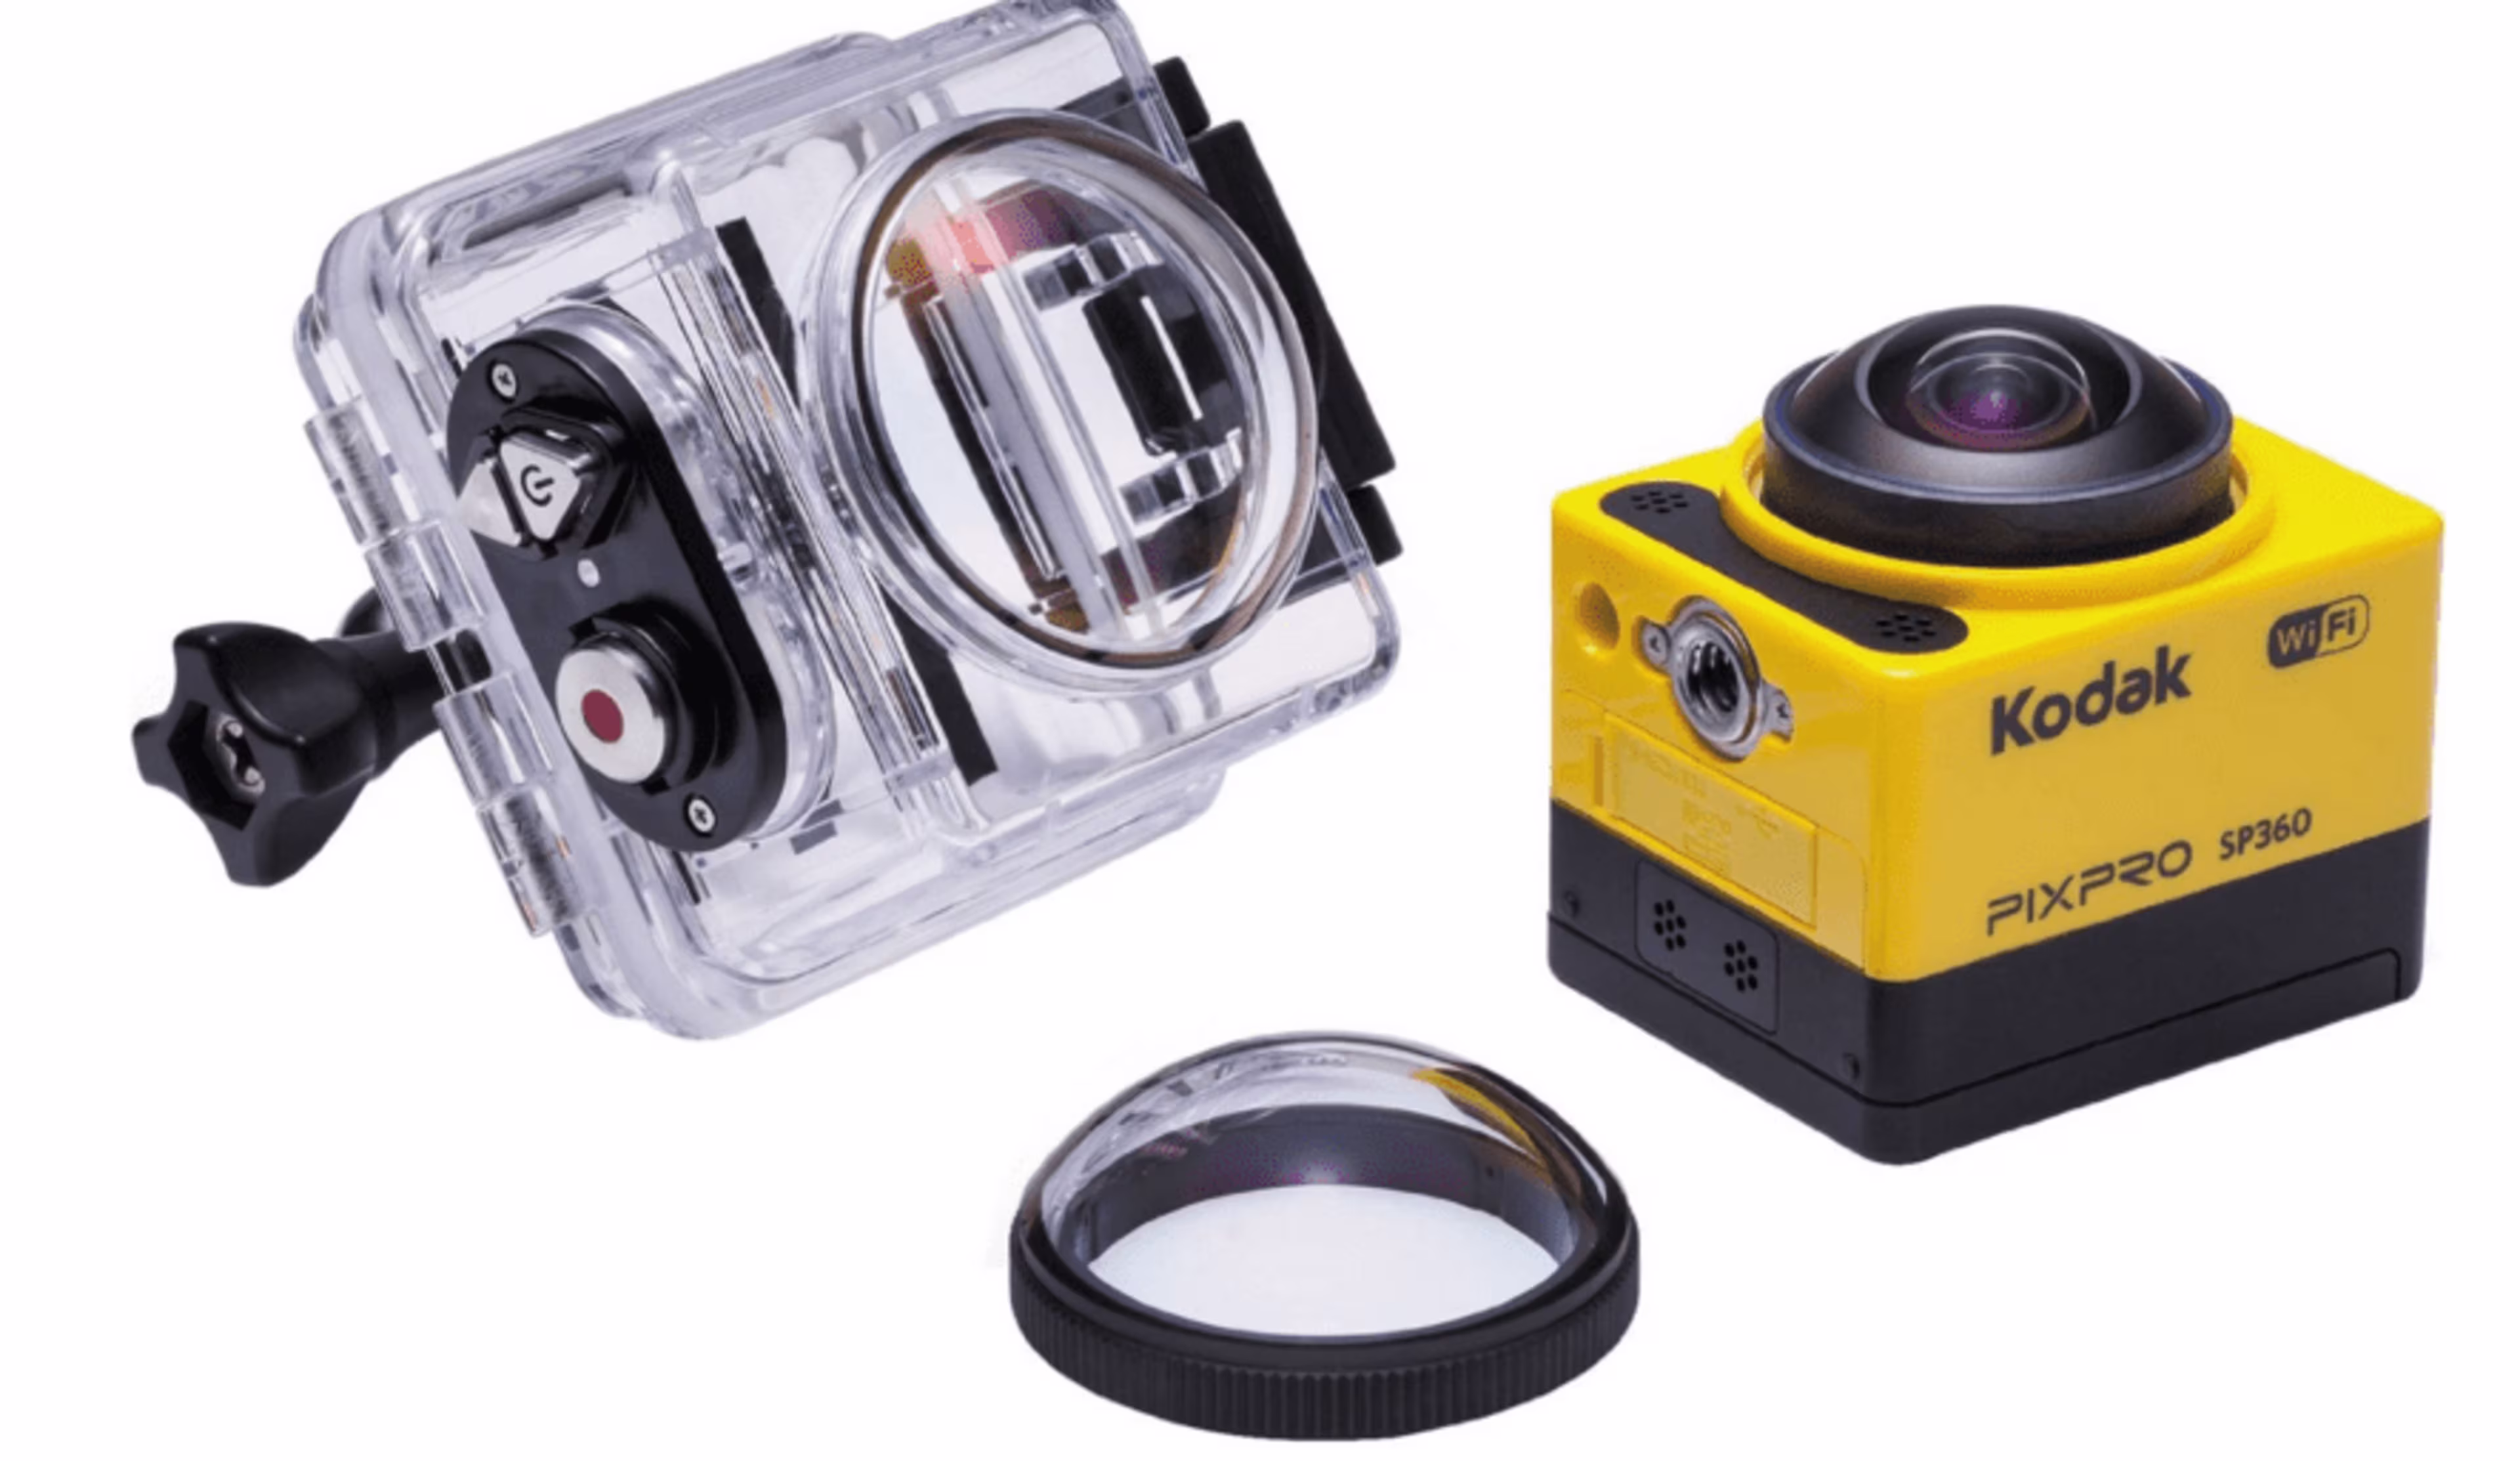
Anyone even remotely familiar with cameras know that Kodak is a decent quality brand. The Kodak SP360 is an affordable 360°360 degree camera that captures video at 1080p high-definition but with that affordability comes with some capability shortcomings. Instead of recording in a full spherical 360 degrees, this camera records in a circular 360 degrees with blind spots at the top and bottom.
When it comes to price, however, the SP360 is offered at $289 on Amazon. So if you are looking for a an average 360 degree camera for an affordable price, you should consider the Kodak SP360.
ALLie Cam
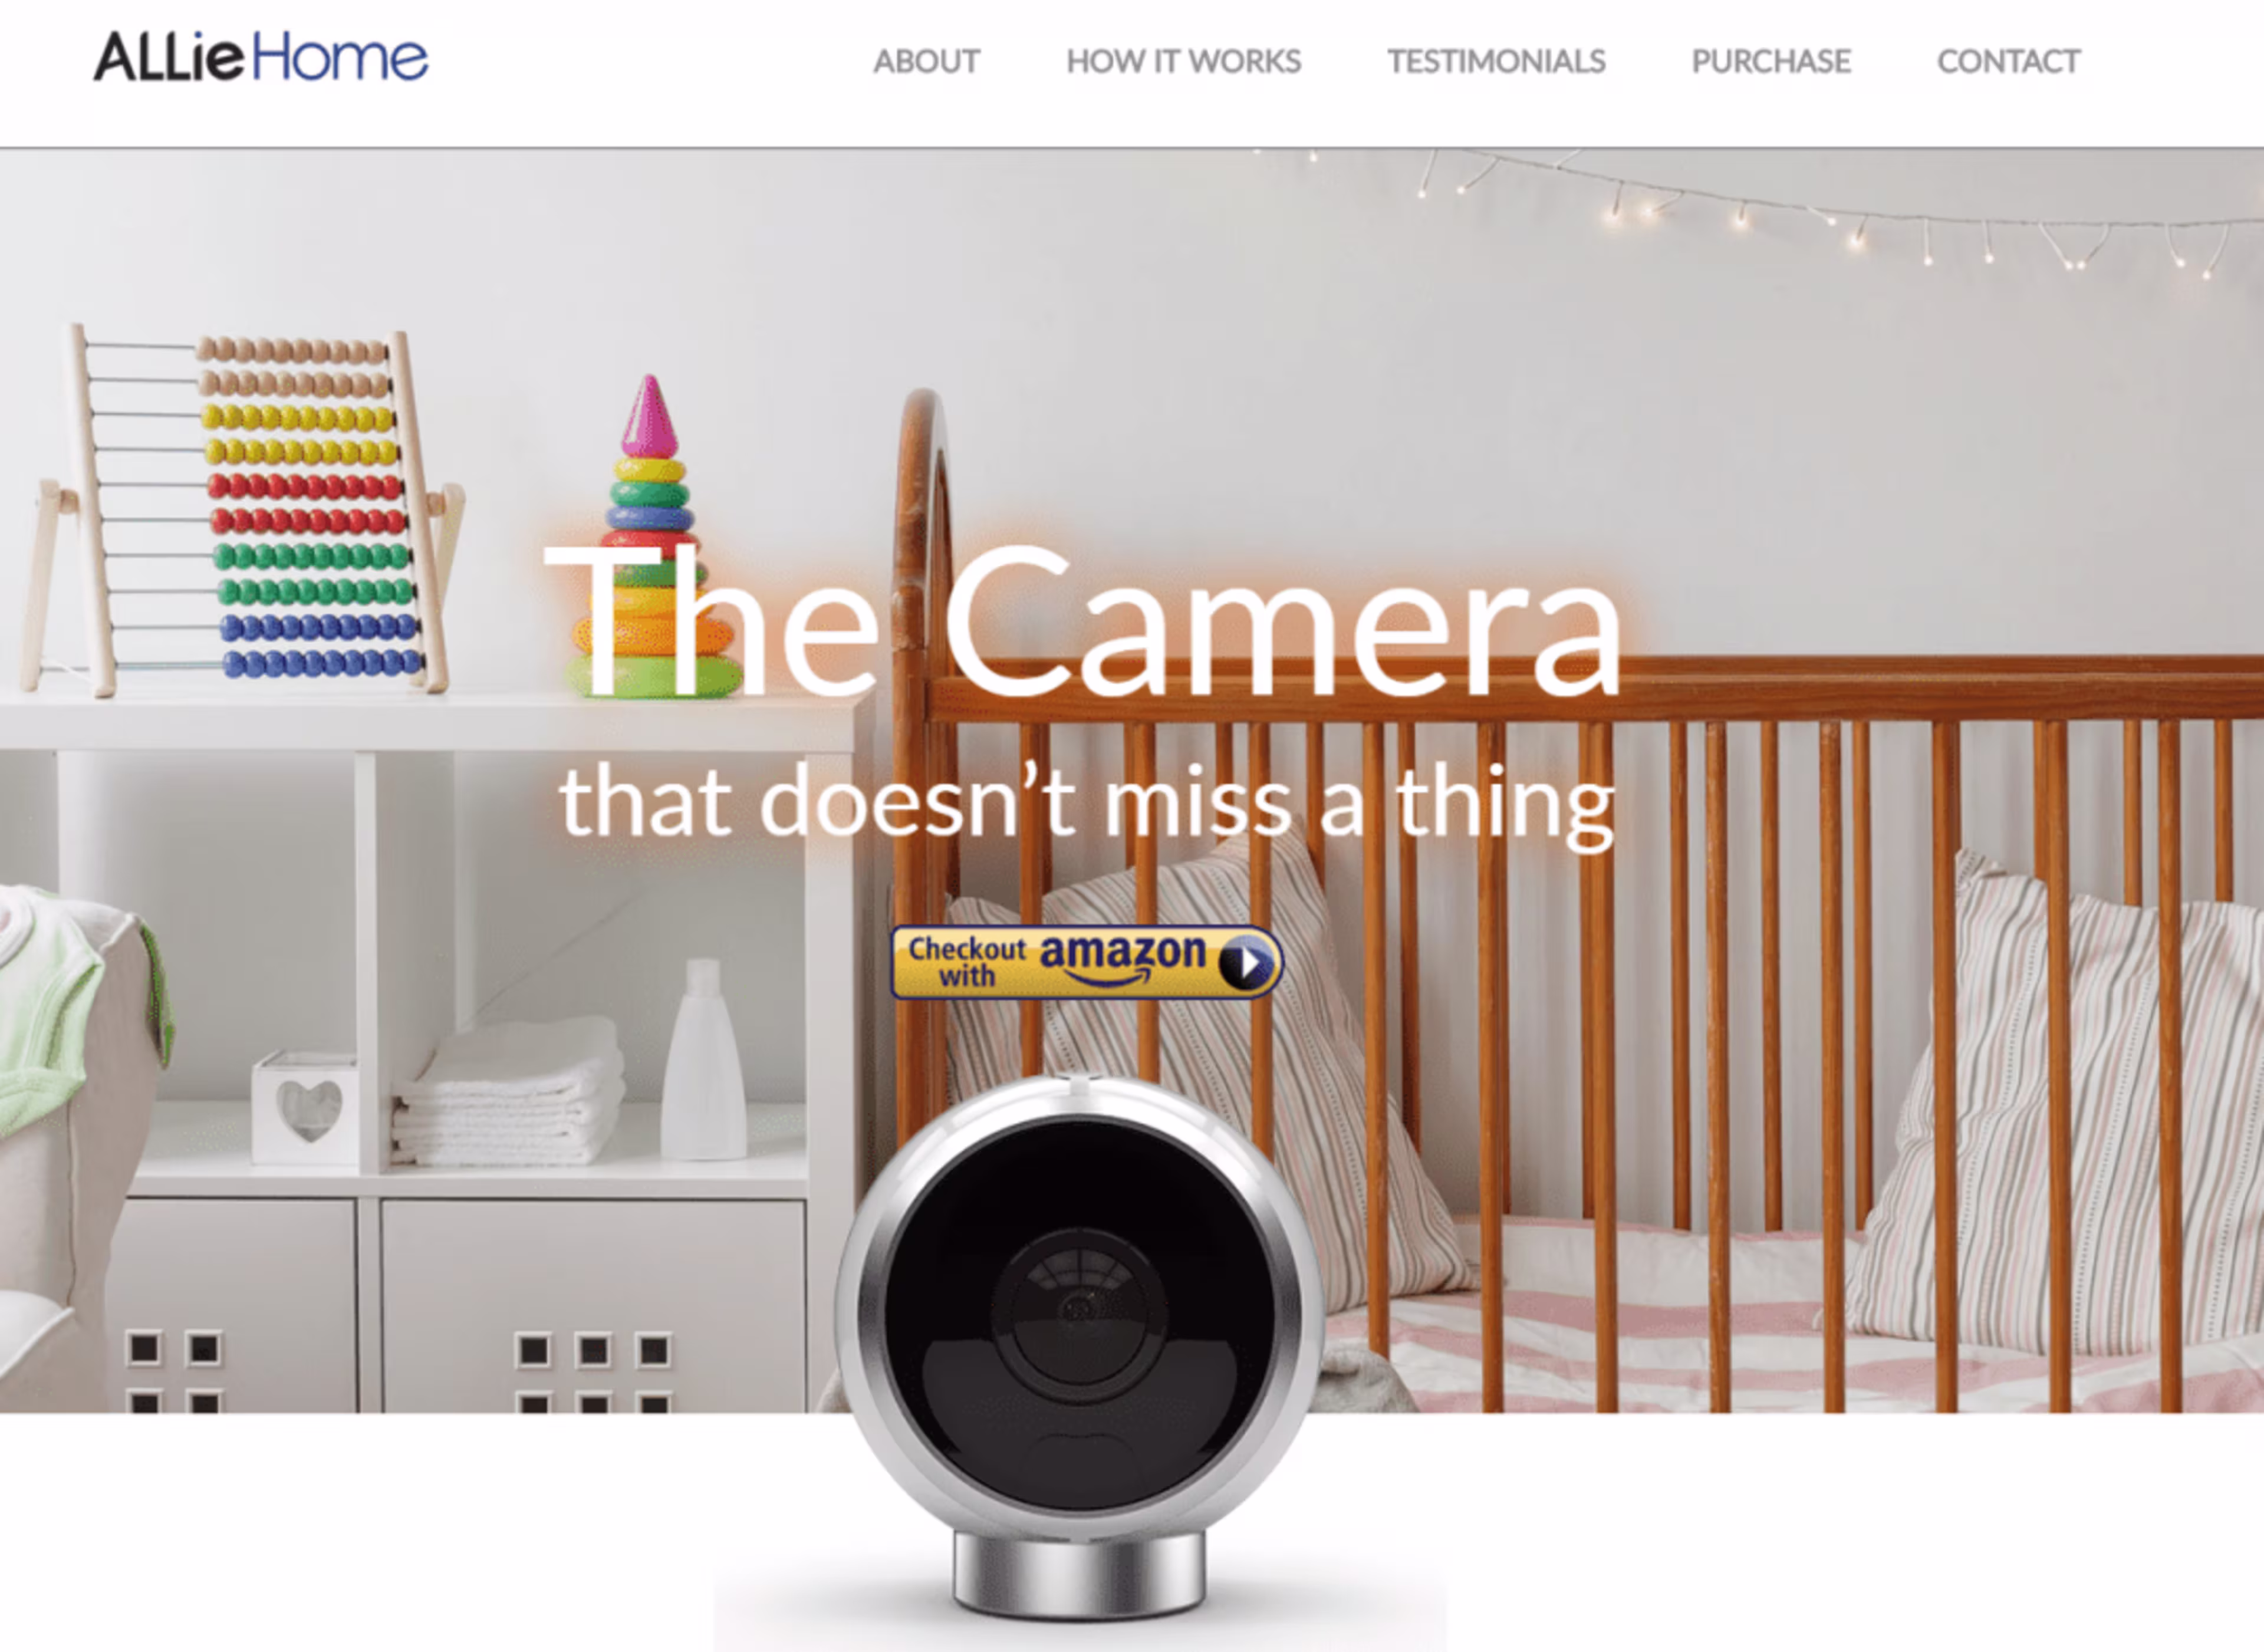
In terms of camera quality and viewing span, ALLie Cam is a fantastic option, which truly covers all 360 degrees of view, including typical blind spots at the base of the camera. The only problem which sets it apart from some other 360 degree cameras is the fact that it is a slave to AC power, whereas many other cameras have battery power capabilities. Luckily for those who want to know, ALLie Cam is slated to offer a battery powered model by June of 2016.
The price for ALLie Cam is fairly reasonable compared to some other cameras, sitting at $499. This camera can be found on their website as well as Amazon.
So if you need high quality video, no blind spots, a fair price, and can wait until June of this year for battery power, then ALLie Cam is definitely a choice to consider.
Vuze Camera
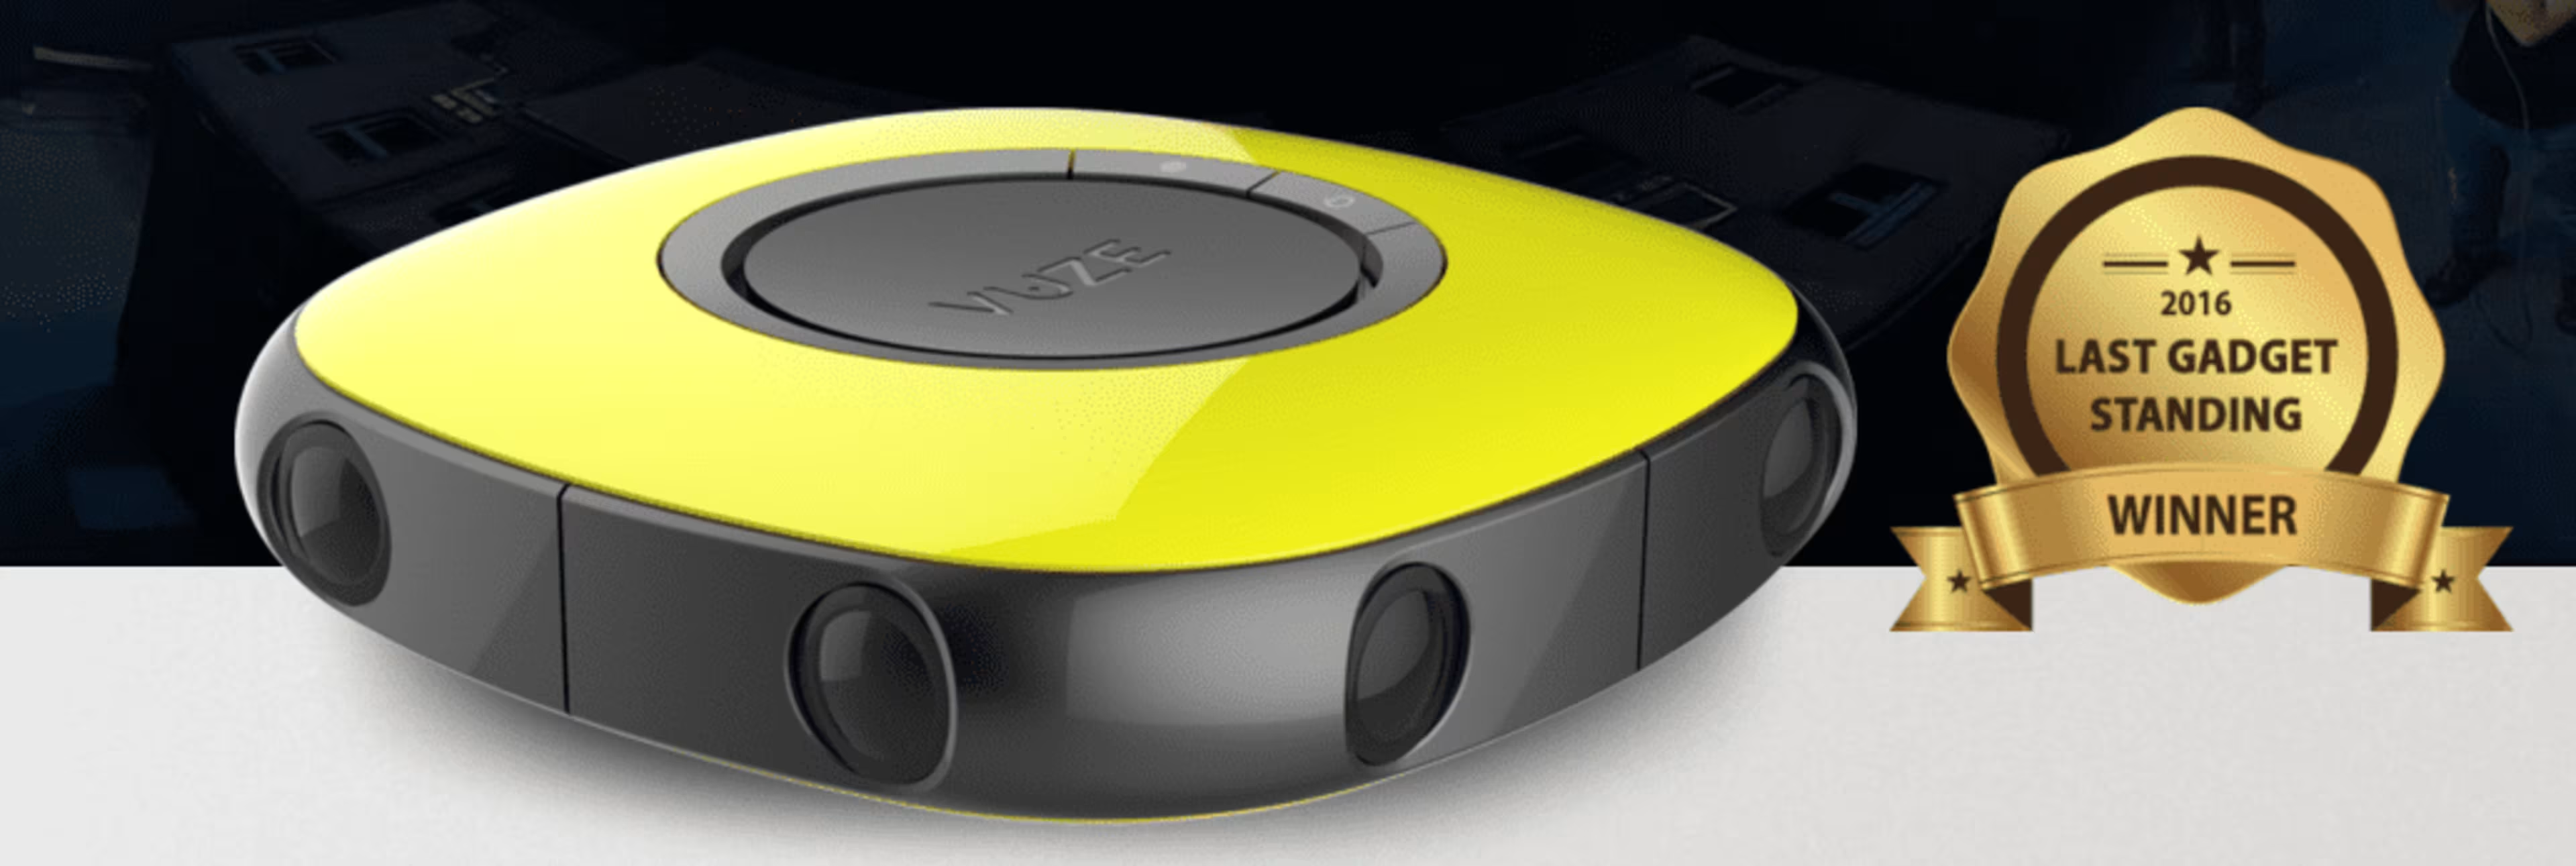
Now, if you have big money to spend and want top of the line 360 degree recording and broadcasting capabilities, the Vuze camera delivers. Coming in at a price of $1,000, the Vuze camera offers 3D views at a crisp 4K resolution. There is no compromise in view either, offering the full spherical 360 degrees and no blind spots.
Aside from its high price tag, there is one issue, which is availability. Since 360 degree video is such a new technology, higher-end cameras are still making their way to the market and Vuze is not yet for sale. However, they are taking pre-orders for the camera, which is slated to be released in the third quarter of 2016. So if you want quality and can be patient enough for it, the Vuze camera is perfect for your crisp, high-def broadcasts.
2. Place camera(s) at best vantage point
What sets 360 degree video apart from the rest is the ability to see everything that is going on from one particular point, rather than viewing a static recorded video. The ability to look around and choose what we see is what makes 360° video so immersive.
With that in mind, it is important to set up your camera at the best possible vantage point so your viewers will be able to take in as much as you can give them.
Setting up your camera wherever you can get the most action is ideal, whether that is in the middle of the room with one camera or, if your event has multiple sessions occurring simultaneously, placing multiple cameras that can capture everything in a particular area.
This will allow your viewers to pick and choose which parts of your event they wish to immerse themselves in. Multiple cameras will require multiple video uploads, so keep that in mind before you go too crazy setting up tons of cameras.
3. Editing 360° footage
After you have recorded the footage of your event it should be edited to provide a seamless viewing experience. Unfortunately your standard video editing software isn’t going to cut it, so you are going to need a specialized 360° video editing software. These below two have high search volume neither requires you to be using a specific brand of panoramic or 360 degree camera:
VideoStitch
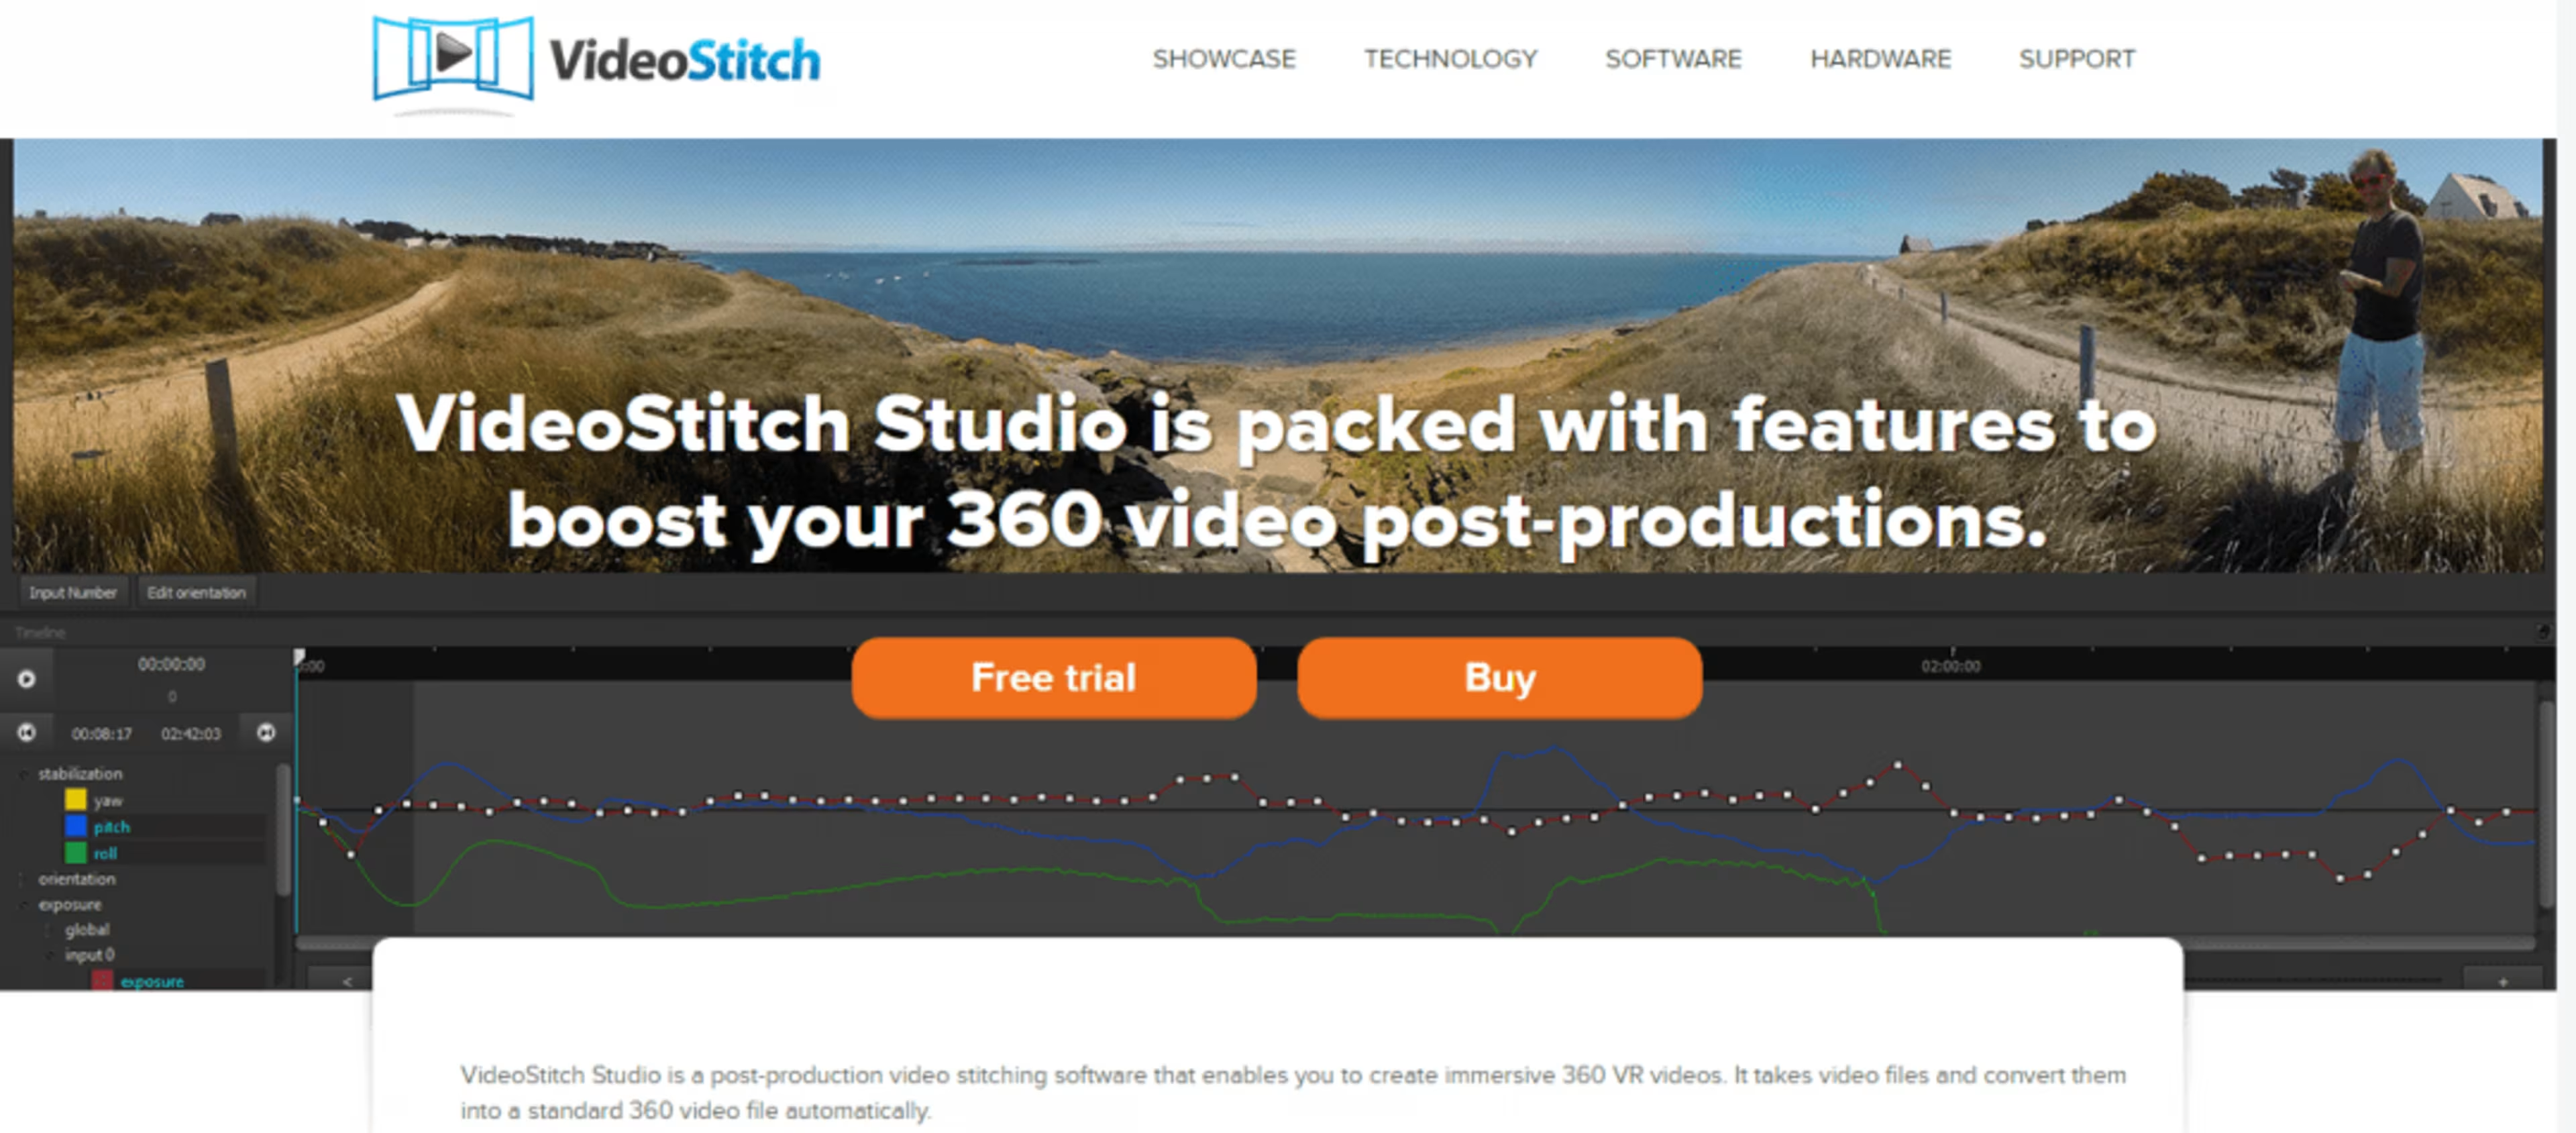
Price: $745
Features:
Real time preview
Automatic calibration
Video stabilization (for recordings that are done on the move)
Compatibility with virtual reality headsets and players
Intuitive orientation control
If you are not completely sure if this is the software option for you, VideoStitch even offers a free trial to see just how well it meets your demands.
Kolor GoPro Autopano Video Stitching
Prices: Basic - €299 ($341) and Pro - €599 ($683)
Features:
Both the Basic and Pro include many of the same features, including auto-sync of sound and motion with video frames, automatic stitching, quick preview, timeline viewing, “director’s cut” mode allowing for smoother transitions and orientations, and compatibility with either Windows or Mac. However the Pro option also includes GPU rendering, GPU processing for faster previews, and stereoscopic stitching which makes rendering easier to accomplish.
Autopano also offers a free trial for those who are more cautious before they buy.
NOTE: Although this software is marketed with GoPro, Autopano is compatible with many other cameras so long as they use some sort of SD card.
These software options, along with many others, give you the capability to create stunning and seamless 360 degree videos that will make your remote attendees feel like they were actually there at your event.
4. Uploading your 360° event
Now that you have your footage and it is edited and ready to be viewed, the next step is to distribute it to your viewers. Right now, the two most popular platforms for viewing 360° video on a mass scale are Youtube and Facebook, so we are going to focus on those two options.
Uploading to YouTube
Uploading 360 degree video is slightly more process intensive than uploading your standard Youtube video, but isn’t too terribly hard. In order for the video to be uploaded, it must include specific metadata for 360° playback to function. Google has written out the process for those unfamiliar:
Create a 360-enabled file with an app
• Download the 360 Video Metadata app for Mac or Windows • Un-zip the file, then open the 360 Video Metadata app. If you're on a Mac, you may need to right-click the app and then click "Open" • Select the video file • Select the checkbox for "Spherical" and click "Save as". Note: Do not select the 3D Top-bottom checkbox. For more information, refer to upload instructions for virtual reality videos. • Enter a name for the file that will be created • Save the file. A new file will be created automatically in the same location as the original file • Upload the new file to YouTube • Wait for the 360 degree effect to process. This may take up to an hour.
After adding the required metadata, upload your video to Youtube just like you would a normal Youtube video. Google cautions you to not make edits using the YouTube Video Editor tool since this tool doesn’t yet support 360 degree videos. It may take about an hour or more for your video to be made available due to the large size of the file. So be sure to have your video(s) uploading well ahead of the scheduled release time.
Uploading to Facebook
Uploading 360 degree videos to Facebook is very similar to uploading to YouTube. You will need to make sure that your video has the 360 metadata added to the file using the app mentioned in the YouTube section.
After adding the metadata, upload the file to the designated Facebook page just like you would any other video file.
What makes Facebook different from YouTube is the video specs and limitations put on video quality and length. While YouTube offers full 4K resolution and virtually limitless time constraints, Facebook requires that videos have a resolution of 3K or less as well as a limit of six minutes. So Facebook 360 video is best for previews of your event, while YouTube can be used for the full feature.
5. Share, share, share!
Just like you would distribute any other form of content regarding your event, it is your job to make sure that as many people experience your event as possible. This includes marketing on Facebook, Twitter, or just about any other social media outlet that you currently market with.
Be sure to let your viewers know your video can be viewed on both desktop and mobile (iOS and Android), as Facebook and YouTube support all those devices.
Conclusion
360° video technology is still a relatively new phenomenon, and it still has many inroads to make with those who have price or technology constraints. But if you currently have the means, this could be a great route to explore as an event manager for increasing virtual attendance.
Did you enjoy our guide? Is there anything we missed or could’ve covered better? Let us know in the comments below!